My Simple Photography Walk Gear Setup
I’ve spent the better part of three decades walking with a camera in my hand, and in that time, my relationship with what I carry has been a constant, evolving conversation. Like many photographers, I started with the “more is better” mindset, a philosophy that’s understandable but ultimately detrimental to the actual experience of walking and shooting. My journey to the setup I use today—a setup I affectionately call “simple”—was one of gradual, and sometimes painful, shedding. It’s a story of heavy rucksacks, aching shoulders, and finally, the profound liberation of realising that the perfect piece of gear is often the one you don’t bring.
This post isn’t about the latest mirrorless camera or the must-have influencer accessory. It’s a deep dive into two minimal, practical, and highly personal setups that allow me to focus entirely on the scene in front of me, and the simple act of putting one foot in front of the other. It’s about gear that facilitates, rather than dictates, my walk.
From “Just in Case” to “Just What I Need”
If I look back at my earliest photowalks, I cringe a little. There was a time when I’d pack literally everything I owned into a rucksack. Wide-angle lens? Check. Telephoto? Check. Macro lens, tripod, multiple filters, spare batteries, and enough cable releases to start a small electronics store? Check, check, and triple-check.
I remember lugging this monstrous weight up mountain trails on what were supposed to be restorative hikes. I’d reach the summit, sweat dripping, and find I’d used maybe two of the ten items I brought. The rest was dead weight. Yet, every time I packed, that insidious little voice would whisper, “But what if you need a 300mm lens for that one, specific, once-in-a-lifetime shot you might see? You pack it just in case!”
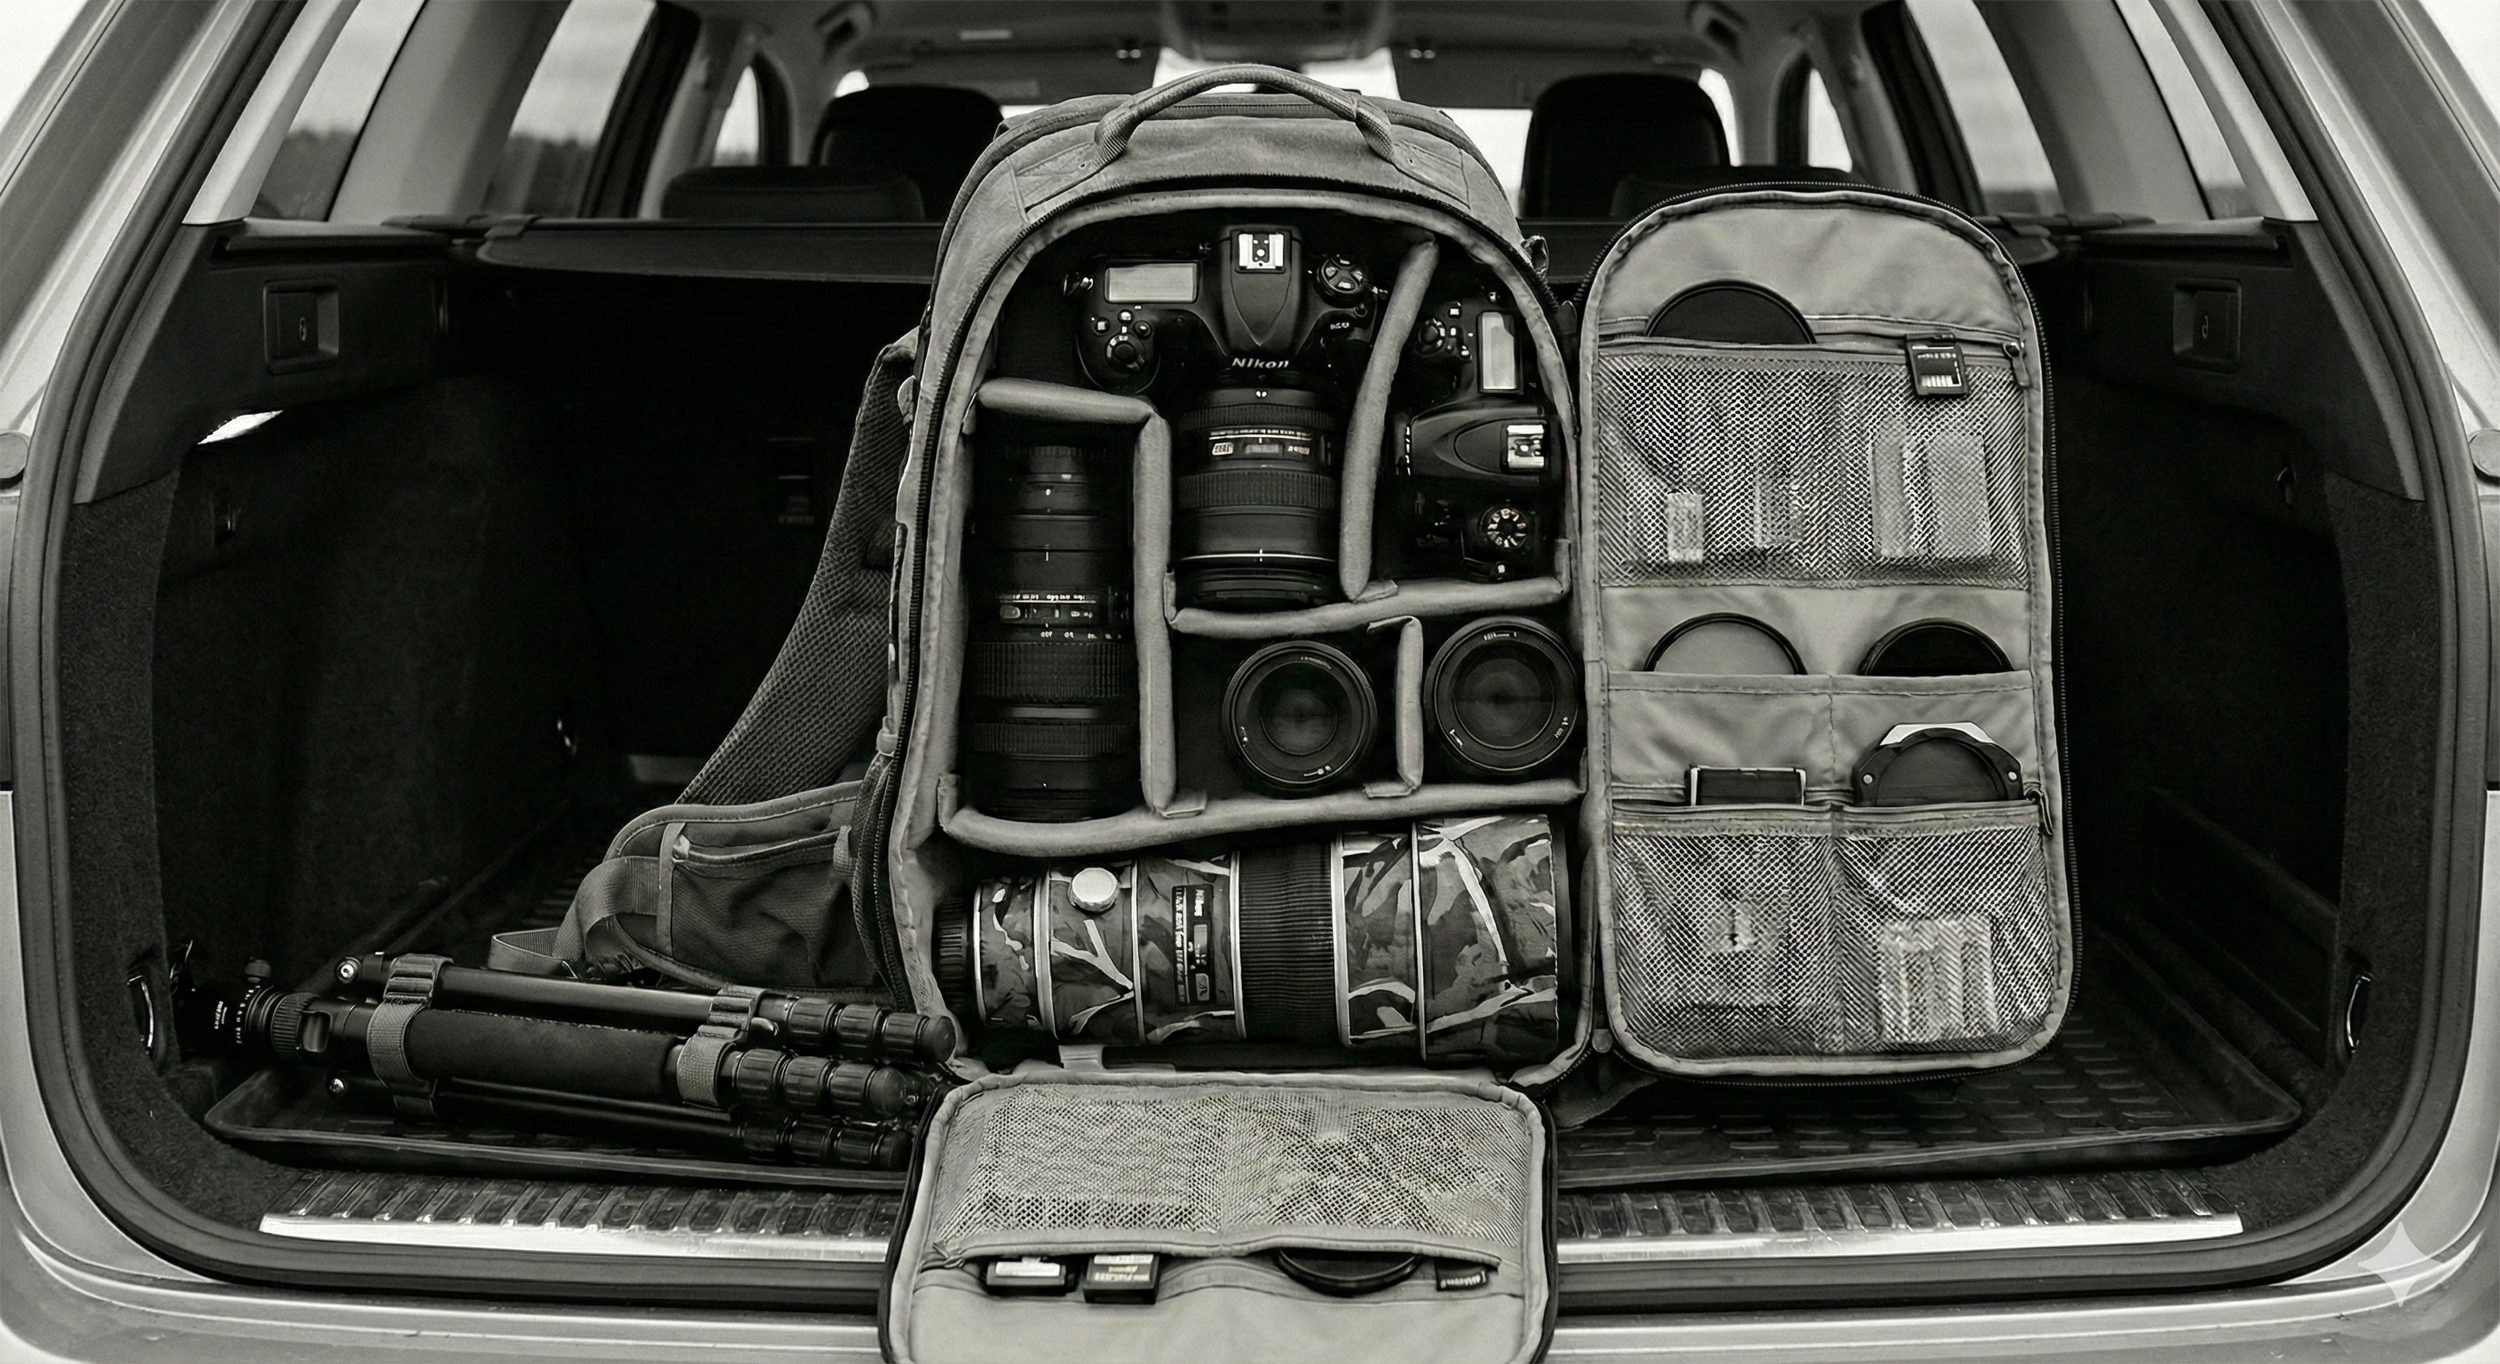
This “just in case” mentality is the enemy of comfortable, spontaneous photography. It doesn’t enhance creativity; it hinders it, faffing with which lens to use for a start off, not to mention the sheer exhaustion and discomfort from carrying an over-packed bag would often overshadow the joy of the walk itself, and sometimes, it would make me less inclined to take the camera out at all, because the simple act of accessing it was a monumental effort.
My turning point came after one particularly brutal hike, when, after unpacking, I felt more relief at setting down the bag than excitement about the photos I took. It was a clear sign: the equipment was dictating the walk, not the other way around. I started a deliberate, years-long process of equipment minimisation.
This involved a significant change in my digital workflow, moving away from bulkier DSLR setups. I flirted with mirrorless—even spending some enjoyable time with a fantastic camera like the Nikon Z6—but ultimately, for the purpose of a simple, walk-all-day setup, I settled on a Micro Four Thirds system for my main digital setup. It was the perfect blend of image quality, compact size, and a massive range of lightweight lenses. Though I still enjoy the more considered, heavier process of shooting film occasionally, for digital photowalks, MFT was the revelation that saved my back and my enjoyment.
Over time, though, my work has drifted back towards older DSLRs, particularly Sony A-mount bodies, which suit the way I now work with black-and-white JPEGs and long-term projects.
My Two Setups: Photowalk vs Workhorse
Today, my walking gear revolves around two distinct, minimal setups, each serving a different purpose.
The Photowalk Setup
This is the kit I take out when the primary goal of the day is a general photowalk — a planned wander, a local loop, or a longer, more relaxed hike where I’m open to whatever I happen to find along the way.
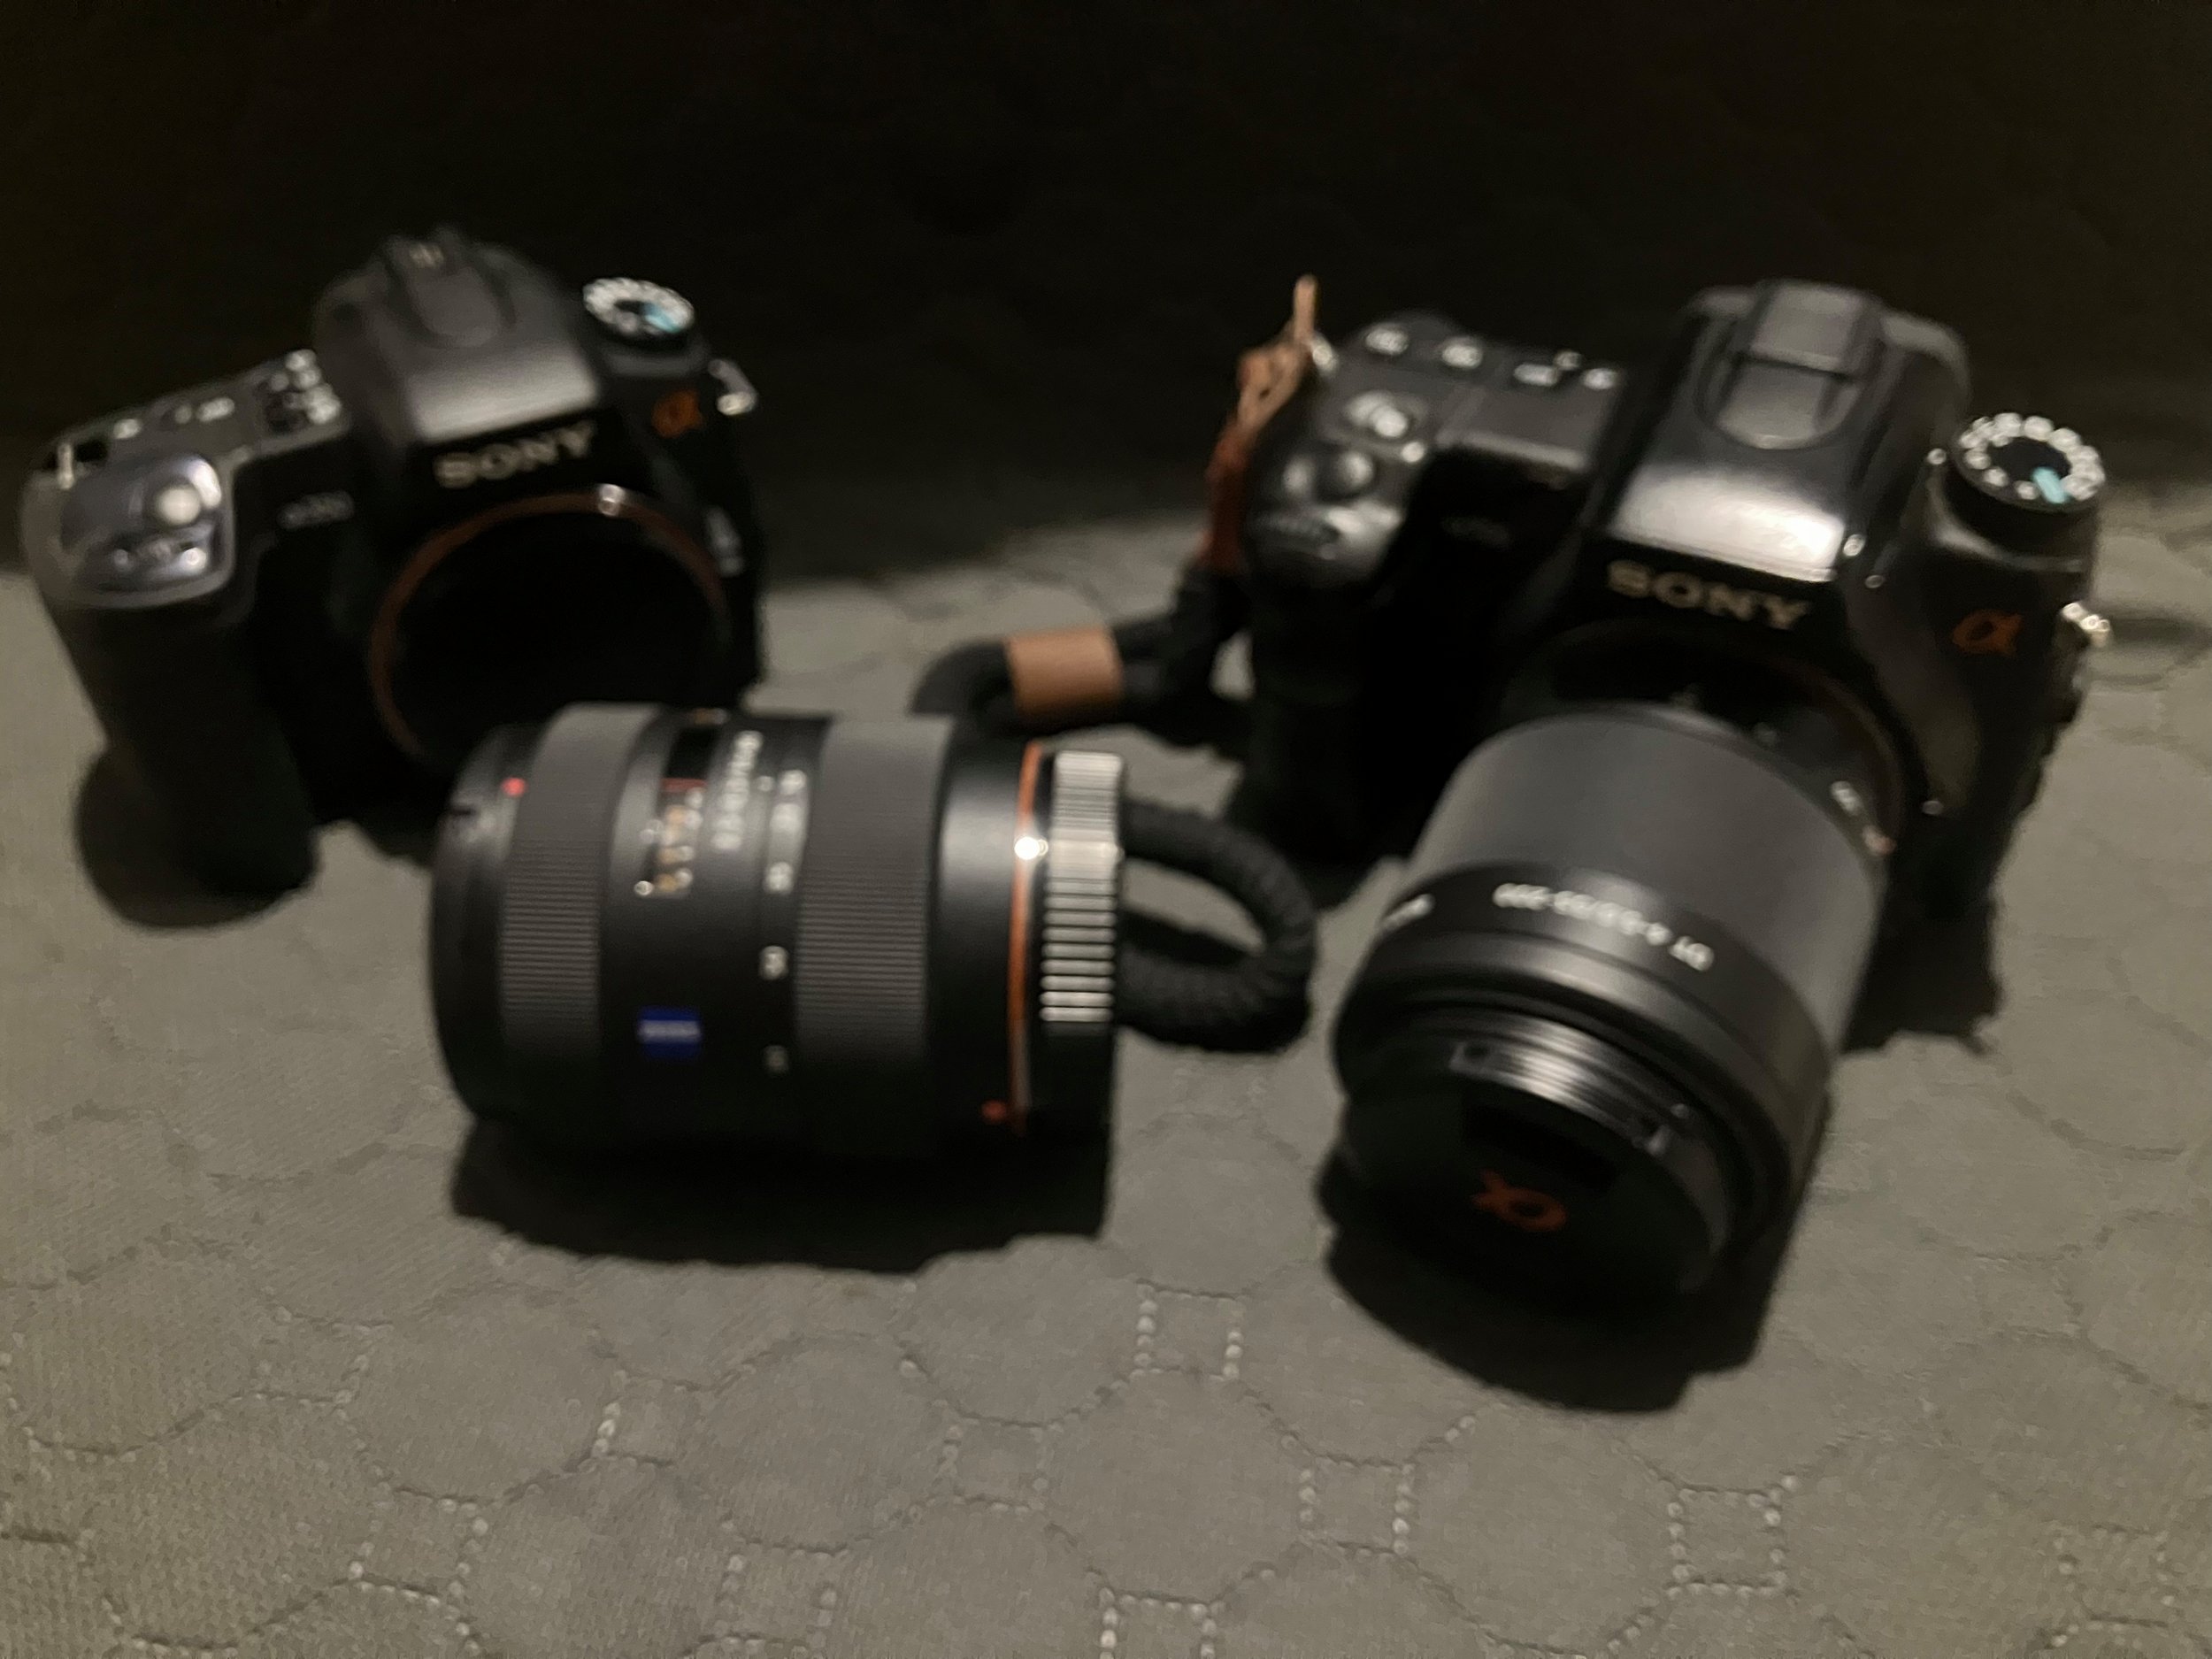
Camera Body: Sony A350
After already saying I’d ditched heavier DSLRs some time ago, it might seem surprising to see an older A-mount DSLR listed here. The A350 is actually one of the more recent returns to my camera collection. It’s a bit heavier than some of the cameras I’ve used in the past, but it perfectly suits my shooting style and needs. It’s also a revisit to the camera that was my first digital camera after my earlier film days, which adds a layer of familiarity and comfort. The weight is a trade-off I accept happily, as the camera’s handling, tonal response, and tactile familiarity let me focus on composing images rather than wrestling with settings. It’s a camera I know, and that familiarity allows me to think less about the gear and more about the scene.
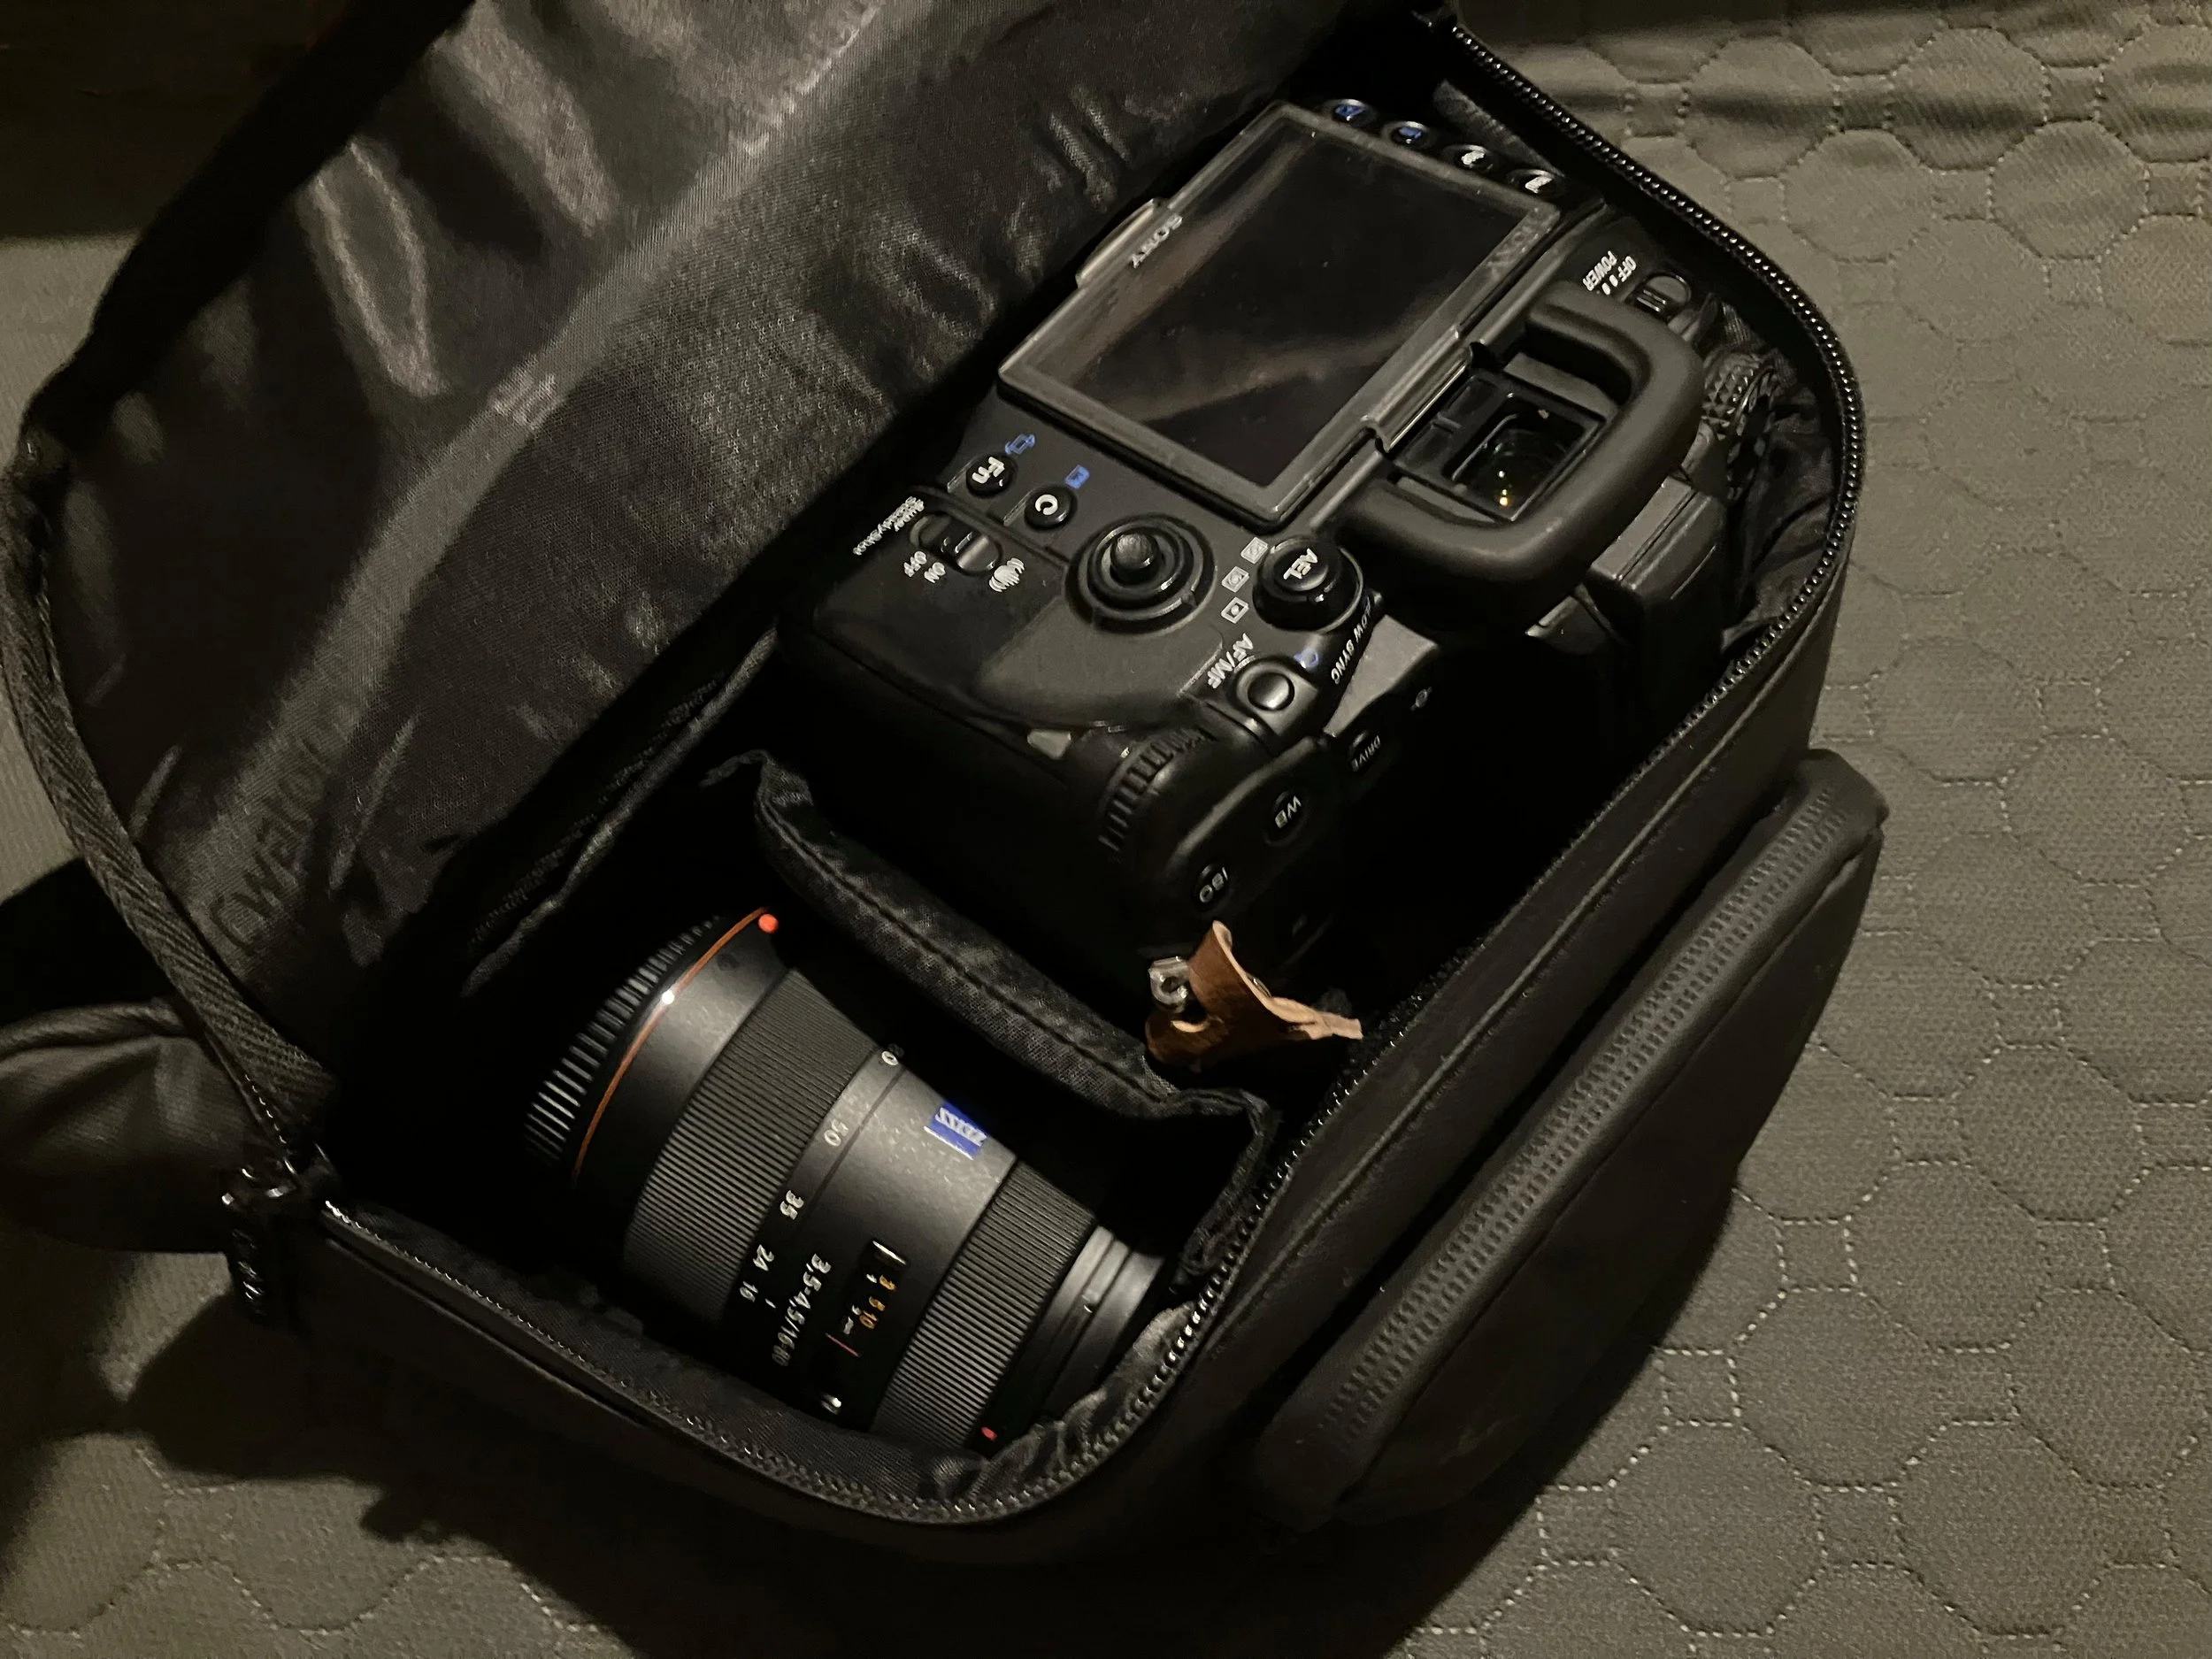
Lens 1 (The Workhorse): 16–80mm
This is the lens that spends 80% of its time attached to the camera. It covers the perfect sweet spot for a landscape, street scene, or a detailed mid-range shot. It’s versatile without being overwhelming, forcing me to zoom with my feet rather than relying on glass.
Lens 2 (The Reach): 55–200mm
This second lens is purely for reach. It’s lightweight, compact for a telephoto, and is kept for those moments when the subject is truly inaccessible—a distant bird, an interesting architectural detail high up, or to compress a landscape scene. Having just this one extra lens is my measured concession to the “just in case” voice.
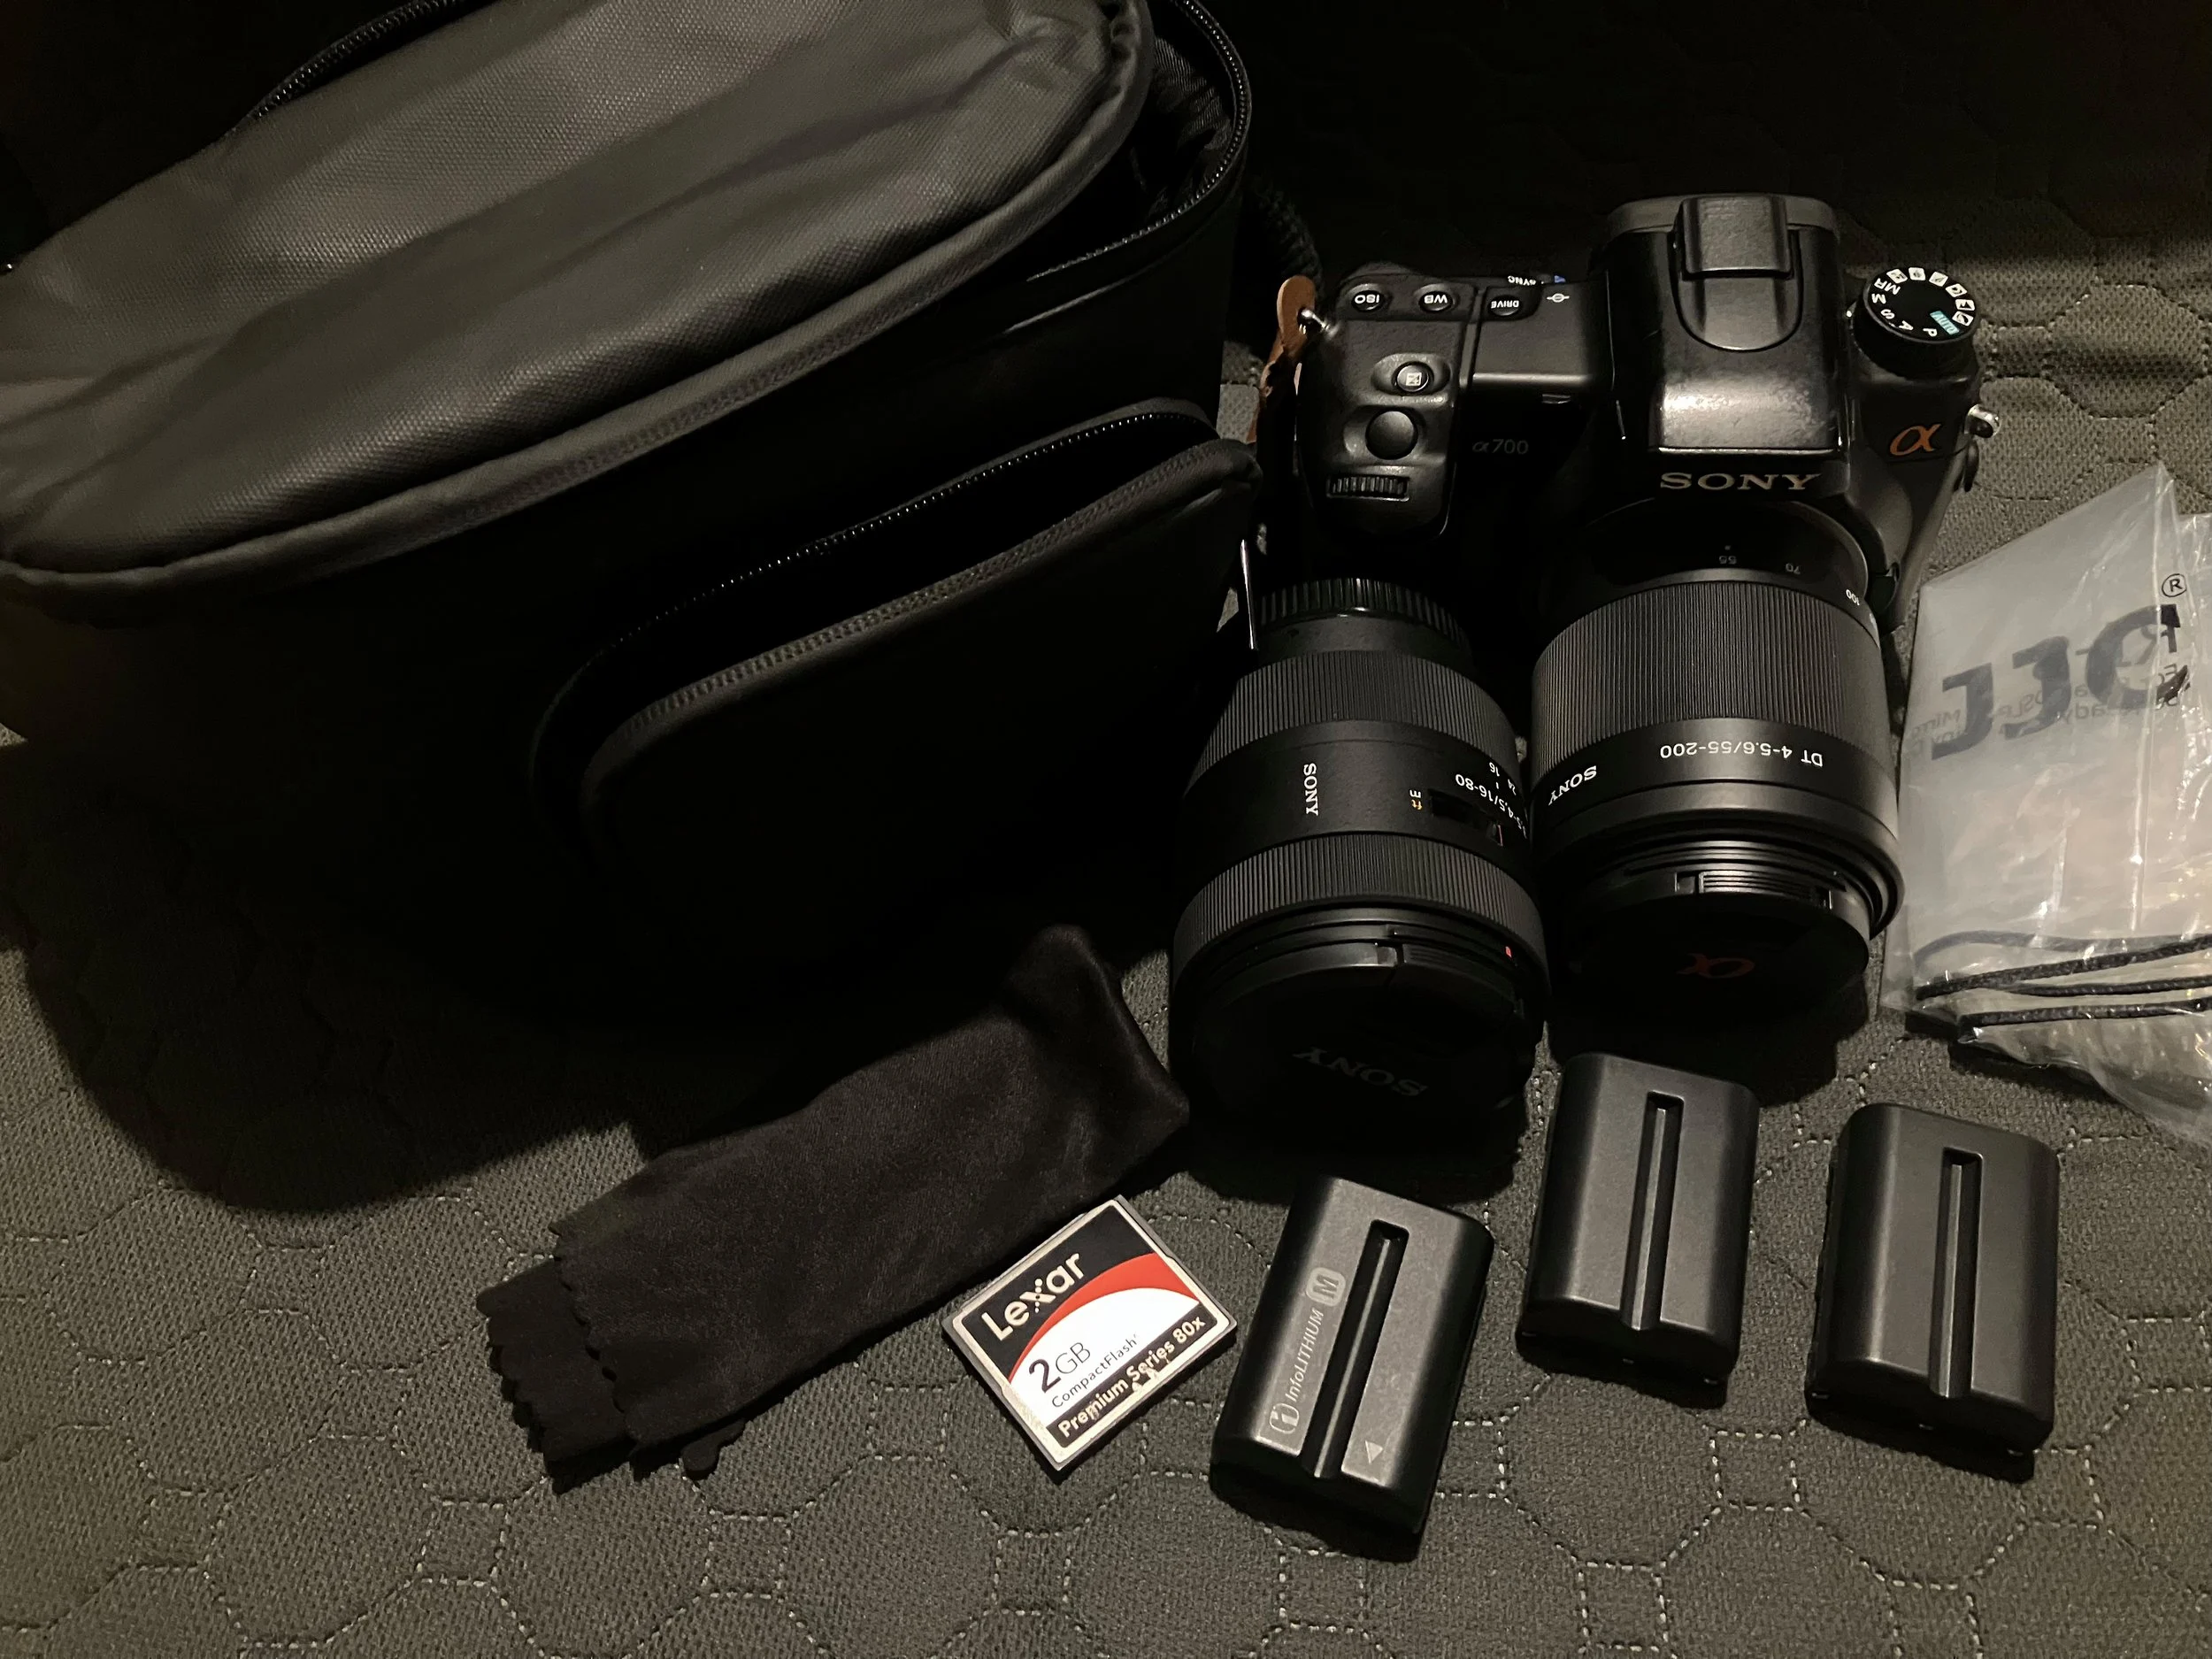
The Essentials Pouch
Beyond the camera, my gear is simply three spare batteries, a spare memory card, and a lens cloth. That’s it, photography-wise.
The Workhorse Setup for Book Work/Prints (Sony A700)
This is the setup I use when I’m specifically working with future books and prints in mind — deliberate walks where I’m thinking about sequences, consistency, and how images might sit together on a page.
Camera Body: Sony A700
The A700 is an older APS-C A-mount DSLR, sitting just above the A350 in the line-up, and it has quietly become my workhorse for more considered work. It shares the same lenses and batteries as the A350, which keeps the system simple, but it brings a few practical advantages: a better viewfinder, more direct control, and the option of shooting “Superfine” JPEGs. I still shoot it the same way I do the A350 — black-and-white JPEGs only, no RAW — but the files have a touch more headroom and smoothness, which is useful when I’m thinking about book layouts and larger prints.
The A700 is the camera I’m more likely to reach for when the walk is planned around a specific area I’m working on for a project, or when I want that little extra confidence in the files for print reproduction.
Lenses: 16–80mm and 55–200mm
The lenses don’t change between the two setups. That’s deliberate. The 16–80mm still does most of the work, and the 55–200mm is there for those times when I genuinely can’t get closer. Keeping the optics the same means the differences between the two setups come from how I use them and what the walk is for, not from juggling a dozen options.
The Essentials
Again, this stays simple: spare batteries, a spare card, a cloth. The difference is more in my mindset — with the A700, I’m thinking about how each frame might live beyond the walk, whether that’s in a book, a slideshow, or a print.
Finding Comfort on the Hip
My gear reduction was only half the battle; the other half was finding the right way to carry it. Over the years, I’ve cycled through a variety of carrying methods, each with its own flaws for long-distance comfort.
The Messenger Bag Trap
I really wanted to love the messenger style bags. They look great, especially when wandering around a quaint English village or a city market. They offer quick access, and they have that classic, rugged aesthetic. However, on a longer walk, even with my now-lighter setup, they weren’t the most comfortable option. The weight, constantly pulling on one shoulder, would inevitably lead to discomfort that would “dig in” over time. After a few miles, I’d be constantly switching shoulders, and by the end of a long day, I was often nursing a neck ache or a stiff back. They are fantastic for a quick, café-to-café urban shoot, which I still use, but not for trekking.
The Liberation of the Hip Pack
My preferred way of carrying my gear now, especially for the dedicated photowalk, is a simple hip pack setup. This was the true game-changer.
The key to the hip pack’s success is basic physics: weight on the hips. The body is designed to bear weight on the hips and legs, not the shoulders. By shifting the load from a shoulder strap to a padded hip belt, the weight virtually disappears. I genuinely find that I can walk all day comfortably and barely notice the load.
Cwatcun Camera Hip Pack:
I use this one for my Sony A-mount setup. This hip pack is a wallet-friendly option from Amazon at the princely sum of £26. It comes in two sizes, small and large; I went for the smaller one. Although it’s a budget Chinese option, it is actually very well made, comfortable, waterproof, and offers just the right amount of space for my requirements.
The added, almost accidental, bonus of the hip pack is the forced limitation. Because they are smaller, they naturally impose a restriction on what you can bring. It’s a physical reminder of the “Just What I Need” philosophy. If it doesn’t fit, it doesn’t come. This has been one of the best disciplines I’ve unintentionally adopted, leading to more focused and ultimately more satisfying photography.
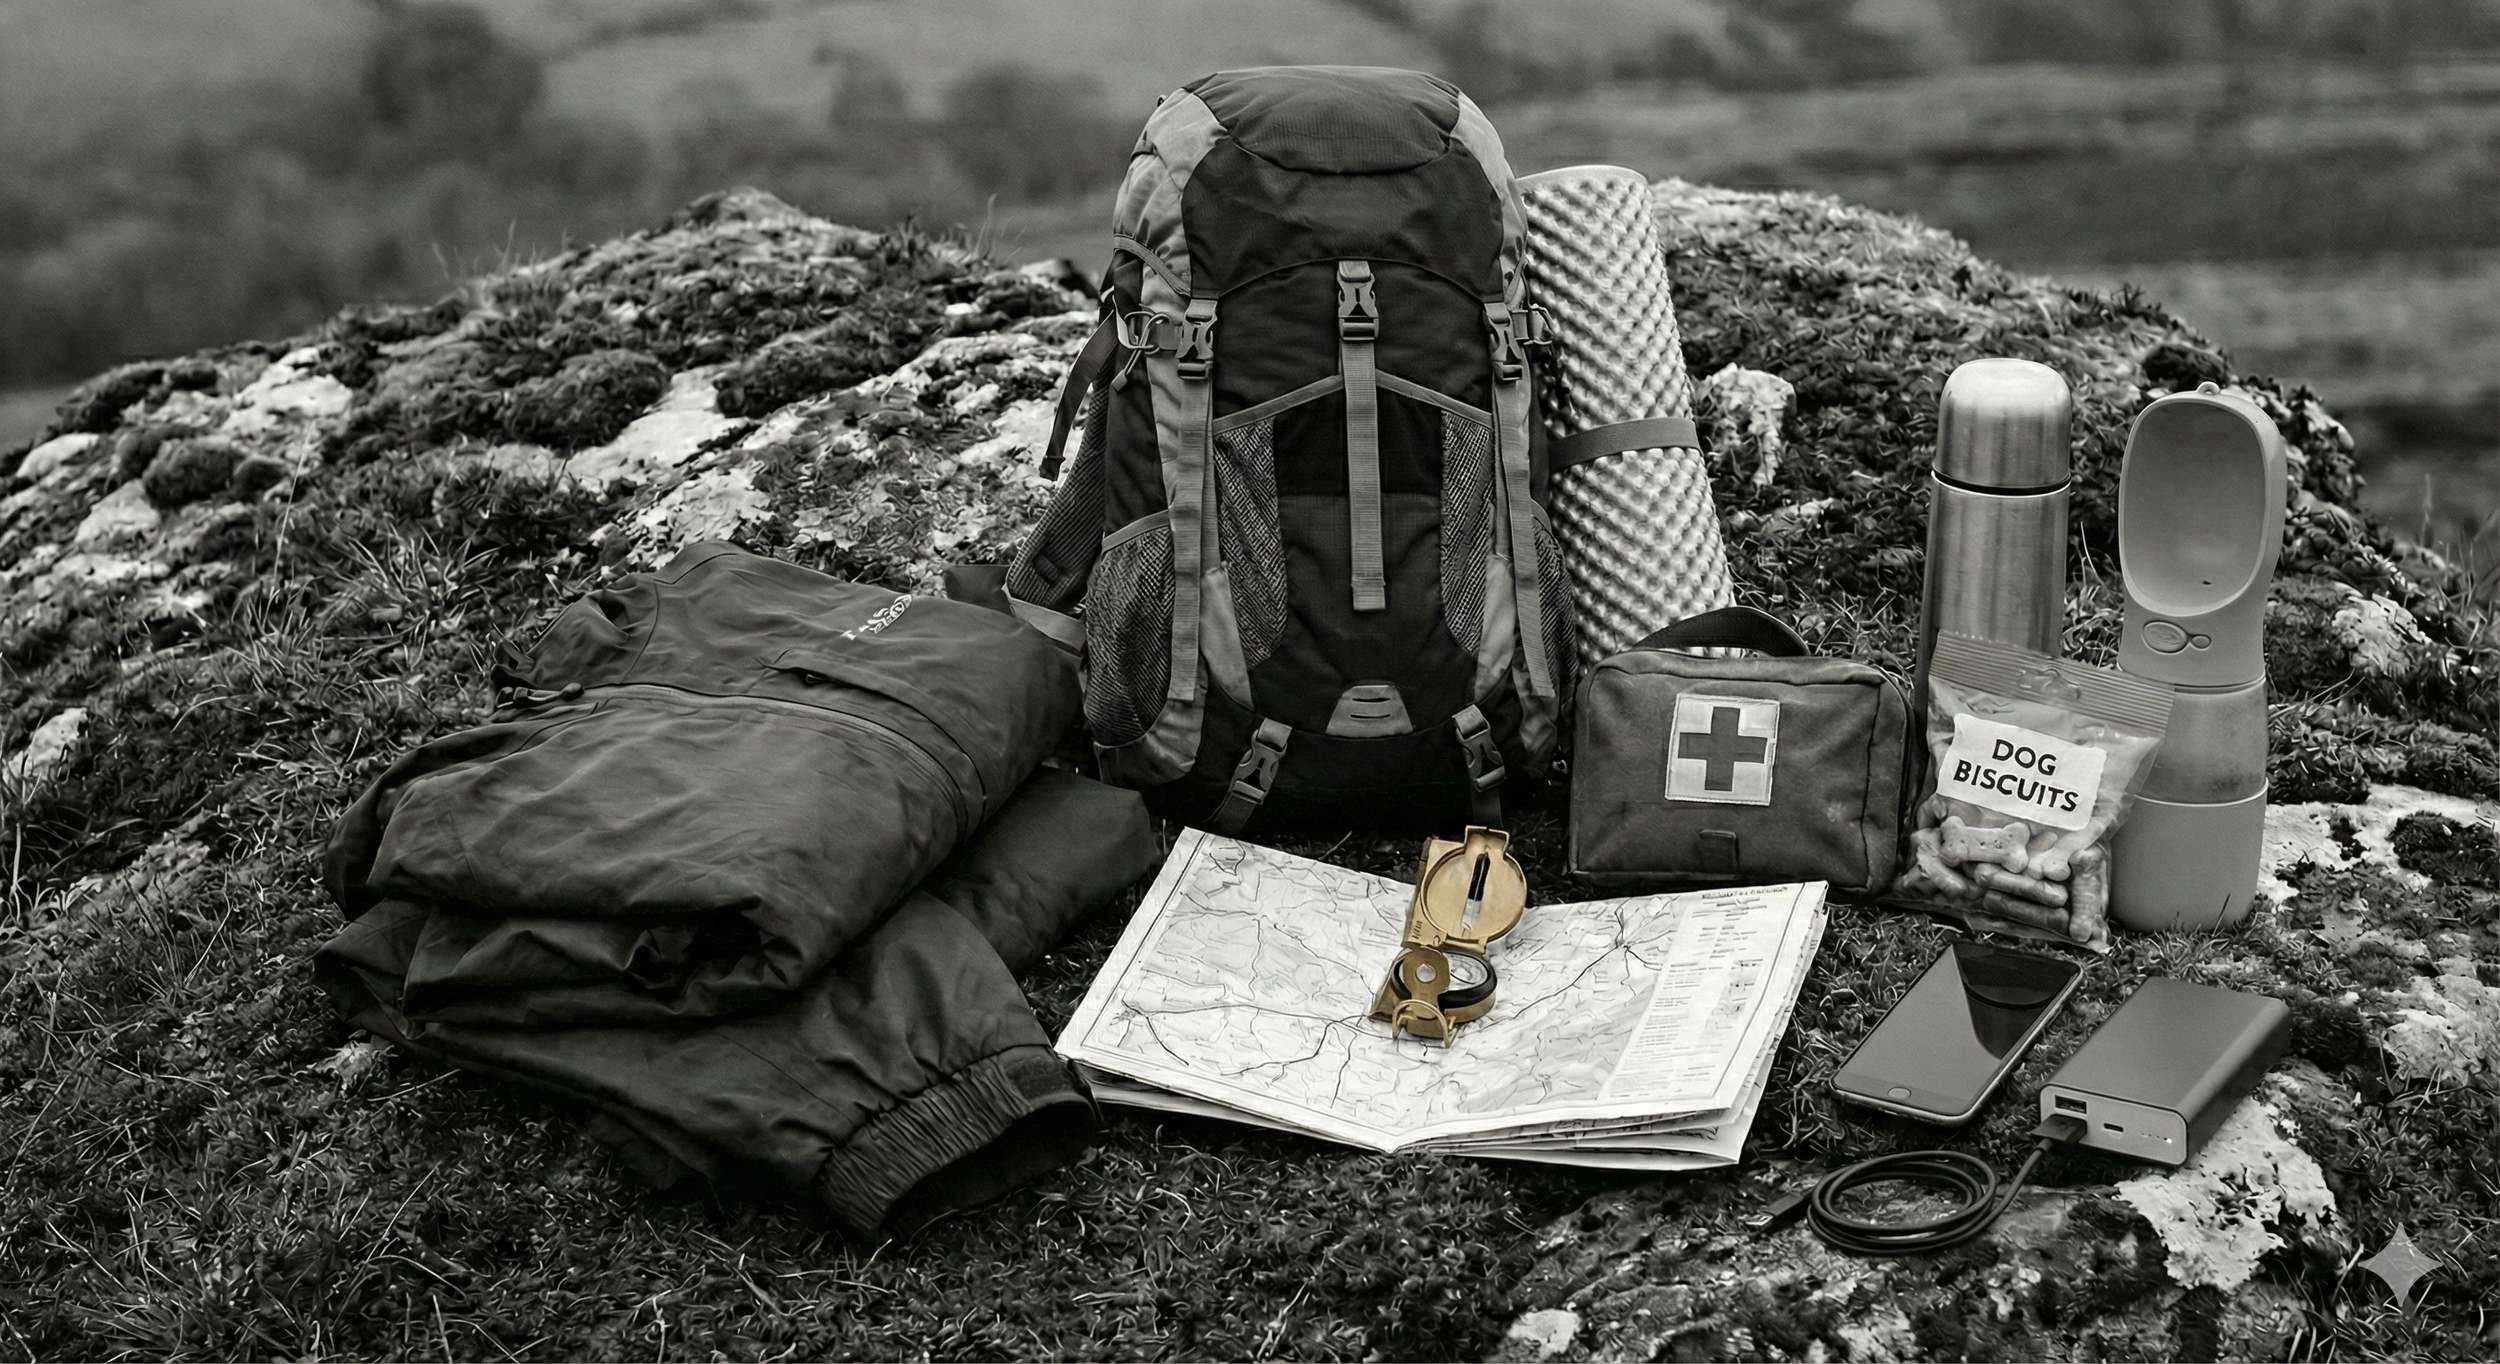
The Long Walk
While the camera and lenses are the “photo gear,” a true walking setup, especially for hikes of 10 miles or more, requires a separate, non-negotiable layer of practical essentials. For these longer journeys, my hip pack is supplemented by a small, dedicated daysack. This daysack doesn’t carry photography gear; it carries survival, comfort, and, most importantly, provisions for my walking companion.
The Daysack Essentials
Hydration and Energy:
A drink and snacks for both myself and Elvis. Elvis is my faithful goldendoodle, and he is as much a part of the long walk as my camera. Keeping both of us hydrated and fed is paramount. I’ve found that pre-packed, high-energy snacks for myself and a dedicated water bottle with a bowl attachment for him are far more important than any lens filter.
Hands-Free Freedom with Elvis:
On longer walks, I use an elasticated waist lead for Elvis. It attaches around my waist, giving him the freedom to sniff and explore while keeping him under control and safe. This setup lets me walk completely hands-free, whether I’m carrying the camera in hand or quickly reaching for it in my hip pack. There’s no fumbling with separate leads or bag zips; it allows both of us to move naturally while keeping me ready to capture any fleeting moment the light and scene provide.
Lightweight Weatherproofs:
The English weather is famously capricious. A lightweight, packable jacket and waterproof trousers are standard kit, even if the sky is blue. Getting soaked miles from home is a sure-fire way to end a walk early and unhappily.
Safety and Navigation:
A small, well-stocked first aid kit is essential. Minor cuts, blisters, plus bandage etc and tick removal tool for Elvis if he needs immediate attention. I also carry a fully charged battery bank for my phone and a reliable physical map. Relying solely on a phone signal in remote areas is never a given; a compass and map remain the ultimate fail-safe.
The Contextual Pack:
I pack specifically for the terrain. A walk on a coastal path requires more wind protection and sun cream. A moorland hike requires sturdier footwear and often a headlamp. A high-mountain trek might require an extra thermal layer. The contents of the daysack are a dynamic assessment of risk and necessity, changing every time I leave the house, but always prioritising safety and comfort over anything else.
The Reward of Simplicity
My simple photography walk gear setup, whether the general photowalk A350 rig or the more deliberate A700 workhorse for book work and prints, is the end result of years of refinement, mistakes, and learning. It’s a setup designed for the reality of a long walk, not the fantasy of a perfectly stocked camera store.
Photography, at its core, is about seeing, observing, and capturing light and emotion. The moment your gear becomes a distraction—a burden on your shoulder, a complicated labyrinth of choice, or a source of worry—it actively detracts from the creative process.
By adopting this minimal approach, I’ve found that my concentration on the scene has increased dramatically. With only two lenses and known camera bodies, I spend less time fumbling in a bag and more time composing the shot. The limitations of a simple kit are not hindrances; they are creative prompts. They force me to get closer, to change my perspective, or to accept the scene for what it is, rather than trying to overpower it with equipment.
Ultimately, the best piece of photography advice I can give is this: Your walk is more important than your camera bag. Pack for the walk, and let your gear simply come along for the ride. The moment you stop noticing the weight on your hips and start noticing the quality of the light, you’ll know you’ve finally found your simple setup. It’s a journey of discovery, and for me, it has made every mile, and every single photograph, a deeper and more enjoyable experience.